How to Tie Dye Shirts and Hand Wipes with Kids
Looking for a fun art tutorial for kids? We'll teach you how to tie dye shirts and hand wipes with kids, including tips and techniques to help you create beautiful DIY patterns and design ideas.

Tie-Dying t-shirts is a classic way to get your kids involved in a fun art lesson and have wearable art that they can really appreciate. I remember making tie dye shirts when I was a Girl Scout. It was so much fun!
Now that I'm a Girl Scout leader myself, I've been exploring fun activities to do with our troop. Making these tie dye shirts is definitely on the list for this summer.
Whether you are teaching just a couple of your own kids at home, or a whole class or troop like me, making shirts can seem like a daunting task. If you have never done it before, it kind-of is!
The dye is messy, it can stain things easily and when involving kids, that throws another wrench in the whole plan. I have done it about four or five times now. It has gone much smoother each time, so I wanted to share my tips and tricks with you, so that you don’t have to learn the hard way!
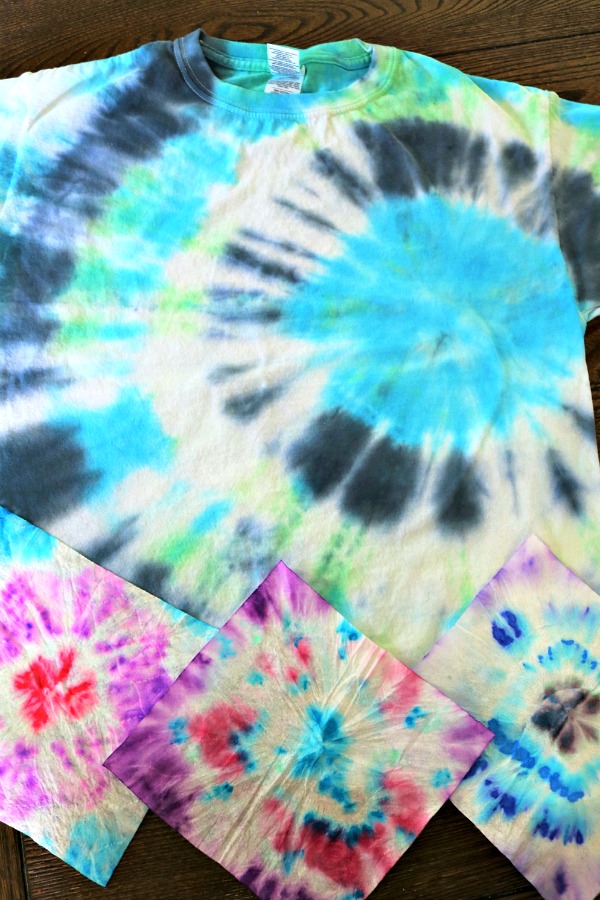
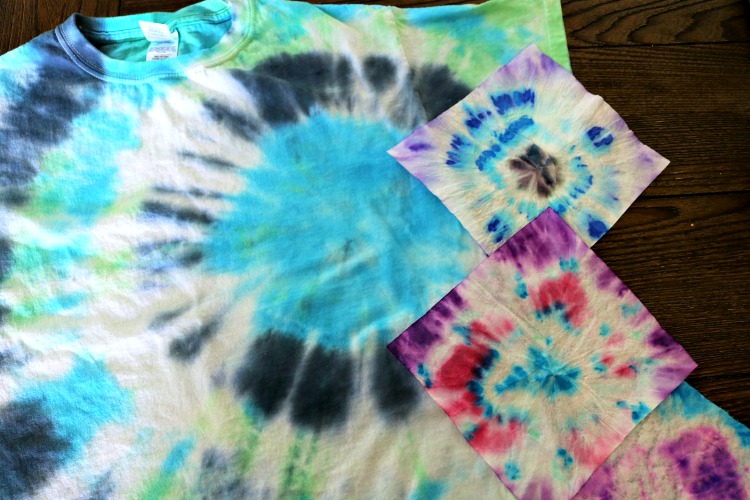
You can also have the kids make tye-dye art on hand wipes as well, which is a fun project that is easy to do.

You can use this activity as something for them to do during the time the t-shirts are being made outside since not everyone can dye their shirts at the same time.
How to Tie Dye Hand Wipes with Markers

Here is the list of supplies and the how to tutorial for making wipes. We'll get into the t-shirt making tutorial next.
Supplies
- One pack of large sized baby wipes
- Rubber bands (at least 3 per child)
- Markers in a variety of colors (like these)

Directions
- Give them all one wipe to start, and then show them an example of how to make one at the beginning of their time. Once they understand, they will easily do it on their own without help, unless they have trouble with the rubber band part.
- Take the wipe from the center and pull up in the middle, pinching the top part. Twist it up until the whole thing is tightly twisted. Place a rubber band around it about an inch from the top, winding the band around until it is very tight. Then repeat with rubber bands going down the wipe in at least one or two more places.

- Now, using a marker, color on the wipe in different colors, at least one color per each section, and you can also make smaller dots or areas of color other places too for more of an effect. If you get down in the folds of the wipe with the markers too, it helps to get the color spread out better (not just coloring on the very outside.) If you hold the marker down in one spot, you can see the ink travel through the wipe. This is a good way to show the kids the way tie dying works. The fabric has to be wet for the ink to move throughout and this is why hand wipes are a good way to do it.

- Once you are satisfied with the coloring, you can open it up by removing the rubber bandsand see your creation.


- Lay flat to dry for a few hours. Placing in a window sill will help it dry more quickly.
How to Tie Dye T-shirts with Kids

First thing to know is that there are a few ways out there to do the shirts if you research, but I have found this to be the easiest way and the one that works the best as far as keeping the color lasting in the shirts over time.
Supplies
- One plain white t-shirt per child
- Plenty of rubber bands
- Gallon size freezer bags for each kid
- Soda ash pre-treatment solution
- Empty dye bottles
- Gloves – one set per person
- Paper towels
- Sharpie marker in black or any dark color
- Dye solution in various colors (Most craft stores sell tie dye kits like this or this which include bottles, rubber bands, gloves and dyes and instructions for various styles. That makes it easier, but you can also buy individual dye colors and empty bottles)
- Sticky notes or labels
Directions
Preparing to Tie Dye T-Shirts with Kids
- You will need to pre-treat each shirt ahead of time. They need to soak for a minimum of 20 minutes. I did closer to an hour just to be safe. Run hot water in a bucket or sink and dissolve the soda ash first, then add in the t-shirts to soak. Use gloves, as it is not recommended you get it on your hands.

- The soda ash will have directions on it as far as how much of it to use per how many shirts, so when you are buying shirts and supplies, just pay attention to how much of it you will need so you don’t end up short when it’s time to make the shirts.
- Rinse the shirts out really well when they are done soaking, and then sort them by size if you have a variety for your class to use.
- Make a label or sticky note with the name of each child on it. If you can, attach it to the outside of a bag so you won't have to do that later. It's a good idea to write the child’s shirt size on the label as well so you can double-check that their shirt went in the right bag.

- Mix up your dyes per the package directions and have them prepped in the bottles before class starts. Wear gloves for this too, a tiny bit of dye powder will go a long way when it's on your hands!
- Set up a table with a plastic table cloth or drop cloth on the table and another one on the ground below it. If you make a nice, wide area on the ground with plastic over it, you can do the dying right over top of it and just throw it away when you are done. If you have a drop cloth for painting that is okay too.
- On your table you should have: pre-made dyes in various colors, rubber bands, gloves, labels and plastic bags.
- Now, here is where you may need to change things depending on the child’s age.
Tie Dying with Younger Kids
- You may not want them to actually use the dye themselves. What I did was show the whole class at once how I twist up the shirt, and rubber band it after soaking it. I taught them the concept of the dying process and how the rubber banding is what creates the white lines and marks on the shirt as the dye soaks. Then, I took 2 kids at a time outside to the table I set up and let them choose the colors they wanted on the shirts and where, but I did the pouring of the dye and just had them stand back and watch.
- I also showed them some examples ahead of time as a class of shirts that were done, so they could see color and style options. I let them choose from about 4 styles, like the typical off-center twist, the bullseye style and a couple others. I didn’t let them go with the more involved ones. Those are harder and take too much time, but if you were just making a couple shirts, you could try them.
- Once you pour the dye on and the shirt is all set to go, put it in the bag with the child’s name on it and seal it up. Sometimes the dye gets on the outside, so at this point, I still didn’t let the kids touch the bag, until I could rinse it off in the sink and know it was safe. (If you have extra hands there, like parents, you could have one of them taking the bags from you as they are completed, and rinsing them and drying them to be sent home.)
Tie Dying with Older Kids
- Go over the process with the whole class, and show them examples, asking them to be thinking about colors and styles they like so they can narrow it down ahead of time. Then, have them wear gloves and walk them through the process, but allow them to do the dying themselves if they want to. I let kids from the third grade and older do their own if they chose, but some didn’t want to, they wanted me to do it and just watched the process. Giving them the choice lets them have some control and feel like they accomplished it themselves if they want to.
- Have those kids prepared ahead of time to be covered up well and wearing old shoes if they are planning to do the dying themselves. It will likely splash on their feet and get on their hands, but some will be extra messy and get it on their clothes too.
- Once the shirts are all done, you can easily wrap up all the wet and messy items in the tablecloth and put directly in the trash.
To Finish off the Tie Dye T-Shirts
- Keep the tie dye t-shirts in the plastic bag several hours, or overnight. Then, wearing gloves, remove the rubber bands and rinse under cold water thoroughly until the water runs clear. Wring the shirt out well to make sure it’s all clear. Then, wash either alone or with dark colors only, and dry as you would any other t-shirt.
- If you're teaching a class, give parents and children instructions on how to finish the washing process when they get home. If you can, print it up and hand it out to them so you don't get questions later.
- To make it extra fun, if this is a regular class you hold, have them all wear their shirts the next time so they can all see the different designs they made. Or have your troop wear them on your next outing!
Let us know how you liked learning how to tie dye shirts with kids!

